


Back to back posts!
This year I did some minor convincing and got no less than seven friends to sign up to play Mantic's Armada this year at Adepticon. I didn't need to do much cajoling because they saw how absolutely fun it was to play when they swung by last year while I was playing. It's a super fun and simple rules/deep tactics kind of game, and I highly recommend it to anyone who wants to shout "Yarrr, run out the guns!" and push around fantasy sailing ships on the high seas. It uses d10s for good variation in shooting and attacking and overall is just awesome. Play it.
This year the tournament had a lot of participants and tables, and I told everyone that stopped by my table or in my vicinity that they need to go demo the game at Mantic's booth. The majority I would see later walking away with armfuls of resin ships to play and I was excited. I did this Thursday night, Friday during the tournament, and Friday night when we got together again for another 4-player free for all, because we couldn't get enough. Maybe I should be a Pathfinder...
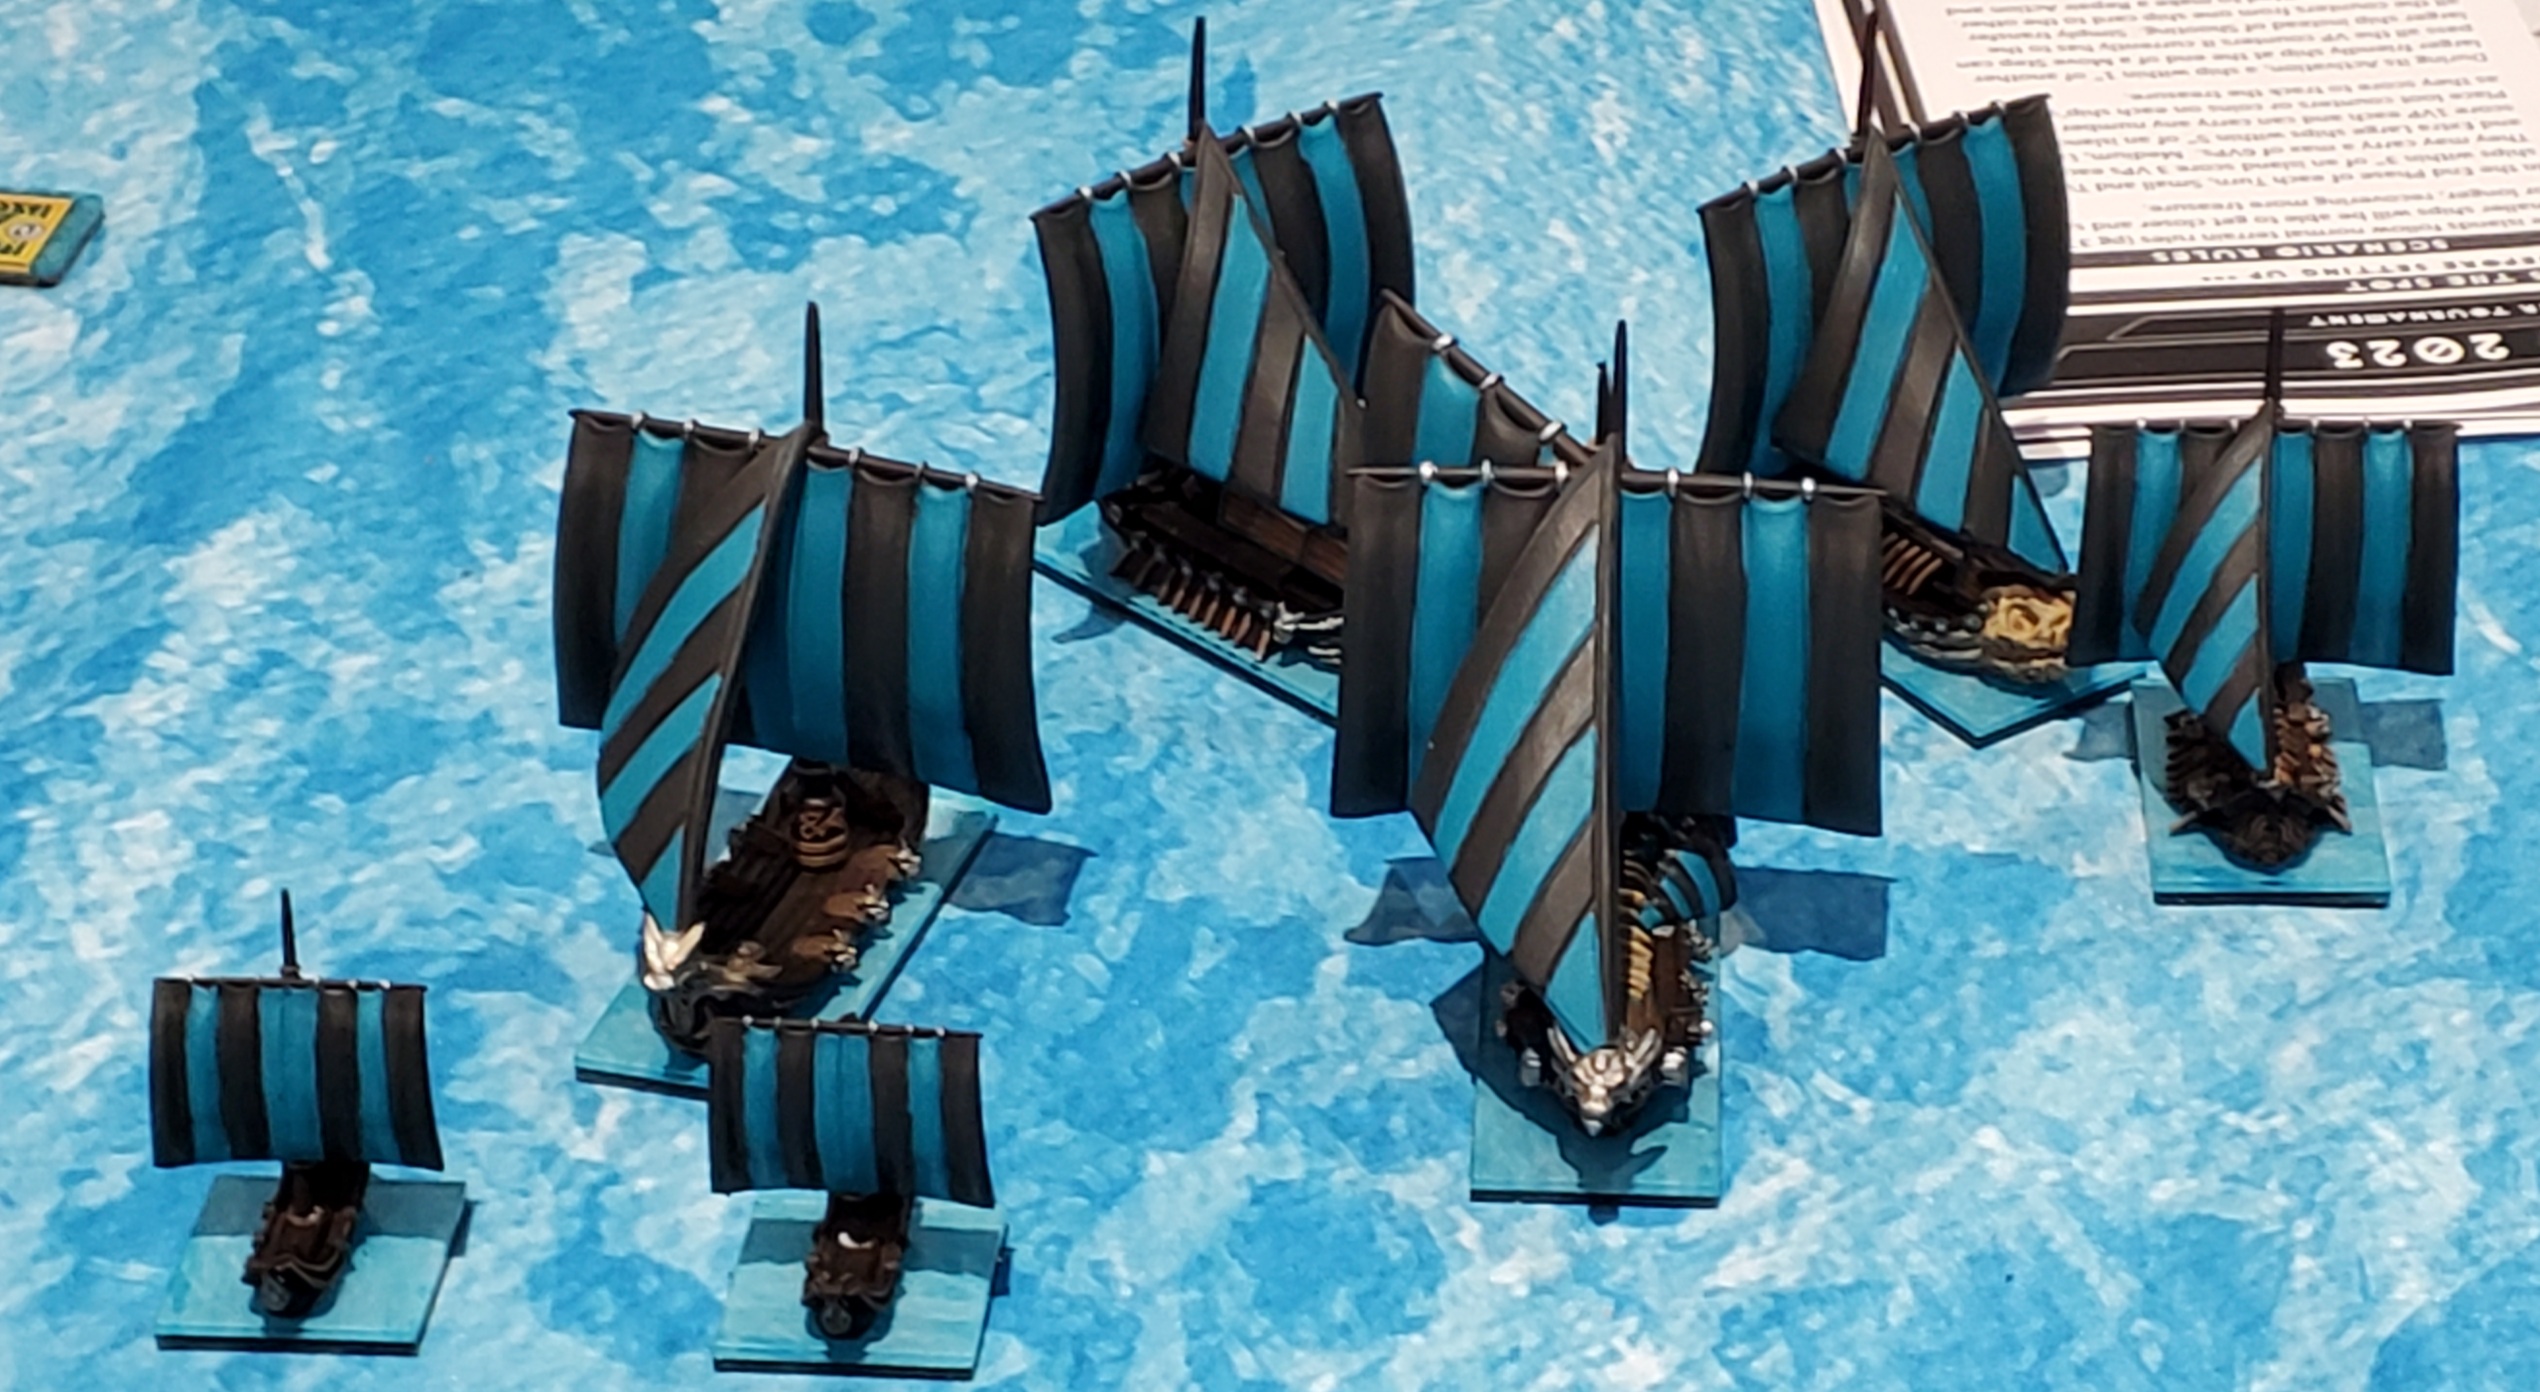
What did I bring to the tournament? Orcs!

My 200 point list consisted of the following:
Smasher - veteran crew, morax, brew of strength, orc grappling hooks
Smasher - regular crew, morguns, war drums, Yinn Greythunder, orc grappling hooks
Blood Runner - regular crew, sturdy construction
Blood Runner - inexperienced crew, sturdy construction
Rabble - regular crew
Rabble - inexperienced crew
Players playing boaty boat games!

Game 1: In Hot Water
Ah, round 1 vs my good friend Caleb Bailey again, just like last year! He decided to not bring the Dwarves again and instead brought some Orcs, just like me!

He had a Smasher with Yinn Greythunder, Hammerfist, Blood Runner, two Bomb boats and a Rabble, with various upgrades.
I set up my five sailors on one half and closer to me, while he did the same on the other side. I then sent my objective takers (the Blood Runners and the Rabbles) to pick up the sailors, and my Smashers to go steal and destroy what they could.

I sent my objective grabbing team to go start doing their job, with only an enemy Blood Runner set to annoy them. Meanwhile my big ships pushed hard on the left. He did the same, pushing nearly everything to get those sailors, though his bomb boats stayed steady to lob some rounds at me (only one hit). His Smasher swept across my bow and raked one of my Smashers for some decent damage, however, since he went first that turn I was able to respond doubly in kind:

In later turns, many of my ships went off the edge of the board and came back on at fresh angles to attack anew. He wasn't able to overcome my advantage at this point though, so I pulled away a 7-3 Victory!

Game 2: Plant the Flag
Round 2 I was paired with Adam Ballard wielding a very strong Empire of Dust fleet.

Monolith - regular crew, balefire, additional broadside (IDW), boarding nets, ocarina of korgaan
Khopeshii - veteran crew, fire oil
Dust Chaser - inexperienced crew
Dust Chaser - inexperienced crew
Dust Chaser - inexperienced crew
Slave Squadron - inexperienced crew
It was a chase to the other islands! We set up and off we went!

Early on he sent his Dust Chasers to get in my way, but Ramming is fun so I did what I could there. I didn't take any more pictures here-on, kinda forgot. So I was holding my own decently, and I was set to do a couple of point blank prow rakes on his monolith in the middle of the table. He activated first and set my shooty Smasher on fire on just the first hit. I really wanted to get this rake off, so I risked it and naturally rolled a friggin 1, detonating half of my killing power. After that it was downhill for me and I soon lost my other Smasher to overwhelming firepower. He overestimated his ships' speeds and sent too many off the table at the wrong time at least, resulting in a minor win for him, 5-3.
Game 3: X Marks the Spot
Well, I guess I got bumped all the way down to the bottom table since I only had 10 points. That's okay, I got to play a pleasant German known as Volker Jacobsen and his Dwarves.

His list was nice and simple:
Dreadnought - regular crew
Orc's Bane - regular crew
Fury - regular crew
Thunderer - regular crew
Hunter - regular crew
In this scenario, like all others, all the islands were teeny tiny, which wasn't fun. Just like in the first game, I sent my Smashers to make a mess of my opponent's objective plans on my right, while my objective grabbers went to the other island on my left.
My Smashers surged forward around the island on the right, collecting treasure as they went. They then blasted and boarded their way through the Hunter, Fury, and Orc's Bane in just two turns. On the left though, my small ships had to play cat and mouse with the Dreadnought and Thunderer, hugging the island as best they could while just raking in the treasure points. They eventually escaped though it was a very close thing (one Blood Runner was carrying 16 treasures alone and just 2 damage from needing a Nerve test). Then end result was a solid victory, 36-4!
I finished 2-1 with 46 victory points, in 5th place out of 23 players. Not bad, and indeed a finish I'm happy with! But most importantly:


Hello?
Are you still there?
Am I still here?
I AM RETURNED!!!
It's about time I resurrected this blog, as I'm finally getting back into gaming and the hobby and everything that's great about life post-pandemic. I've been raising my boy, working, and getting my groove back. What better place to gashmorglishboard than at Adepticon!
 |
| I 💗 you urbie |
My first couple of days (Wednesday and Thursday) consisted mainly of spending all my money on toys and more toys. Battletech (their booth opened Wednesday night), Games Workshop of course (their booth also opened Wednesday night, after the preview so I scored the event exclusives with zero crowd), then the bits guy (Toledo Game Room). Between them all, I was...just getting started.
The preview was pretty fun. The audience went wild when 10th was revealed, like Marvel Endgame wild. People seemed to be very happy with what was shown, and of course I'm a sucker for terminators, my favorite unit in the game.
On Thursday after a good day of conning, my wife and friends and I got together and played a 4-way game of Armada to warm up for the tournament on Friday.


Here we are midway through an Orcs vs Dwarves vs Dwarves vs Empire of Dust, while #5 churns through his backlog in the background.
Late game, everyone was rampaging everywhere, especially the Orcs. We wrapped up after midnight, and our friend finished his coloring project so it was off to bed and rest for the Friday morning excitement!


 |
| Because this totally says "Warhammer stuff" to the average Joe. |


 |
| This end down. I just took a pic of it to remember what replacement batteries to get. |


 |
| It's aliiiiive! |


 |
| Rawr. |

 |
| Don't touch my egg. |
 |
| Spikes for daaaaaays. |
 |
| Oh hai, I see you. |
 |
| From above. |
 |
| From slightly more above. |
 |
| I don't always take good pictures. |
 |
| You wish you could dragon surf like this guy. |
 |
| Elves care not for physics. |
 |
| Sweet elvish bootay. |
 |
| He's stabbing this caption. |
 |
| "Hi-ho, Silv-I mean Green, away!" |

